Exporting and Using EDL Timelines
This guide shows you how to take your favorite clips from PB Vision and edit them in another video app, like DaVinci Resolve. When you export from PB Vision, you’ll get a small file called an EDL (Edit Decision List). The easiest way to think of it is as a simple set of “cut here and here” instructions for your video editor to show your video highlights or the filtered shots you selected in PB Vision.
Here are a few ways you might use it
Create a quick highlight reel to share on social media.
Export just your selected shots (like all your serves or drops) so you can review them in one short video.
For most users, the new PB Vision video player export tools are the easiest way to export highlights, bookmarks, selected clips, or rally-only video. This EDL guide is for advanced users who want to keep editing in external tools like DaVinci Resolve.
⏬ Downloading Needed Files
Video File
In the bubble dot menu of the video, select Download Video
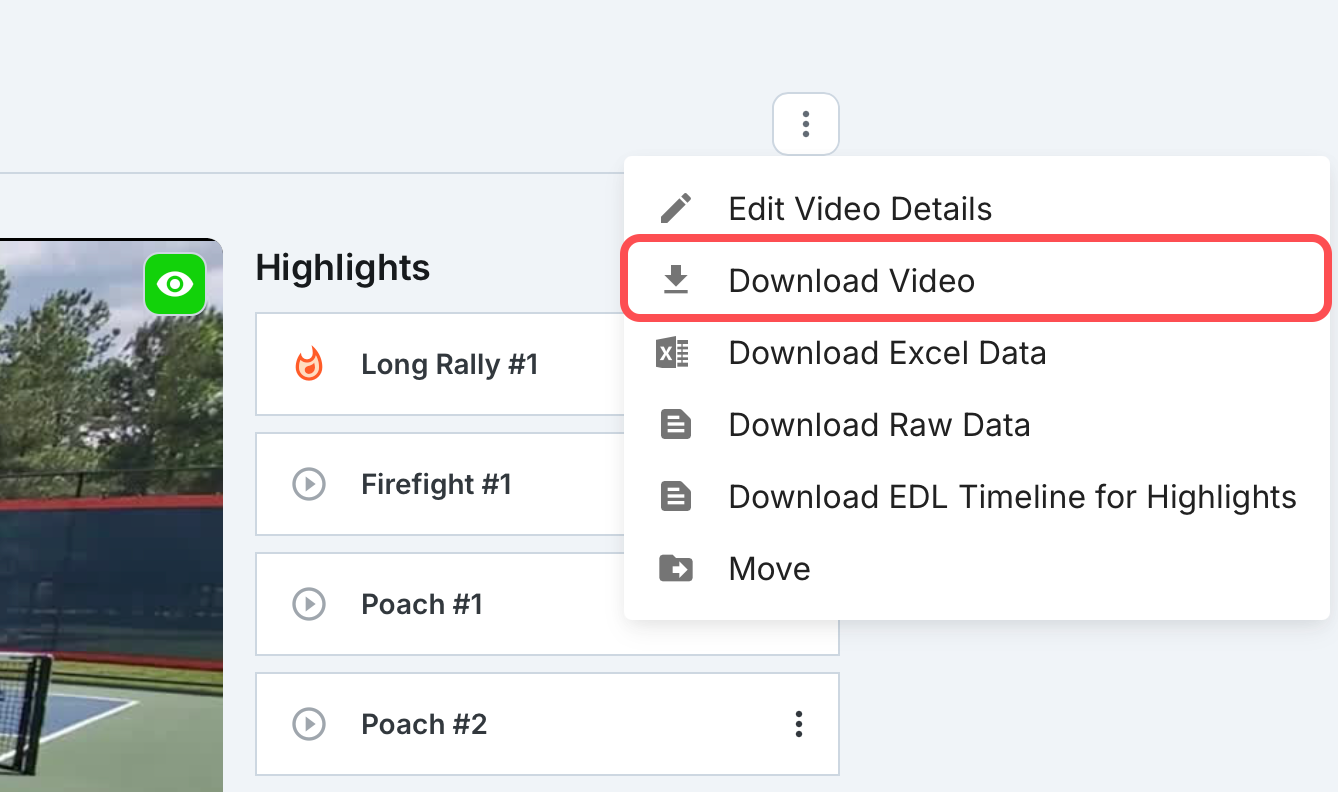
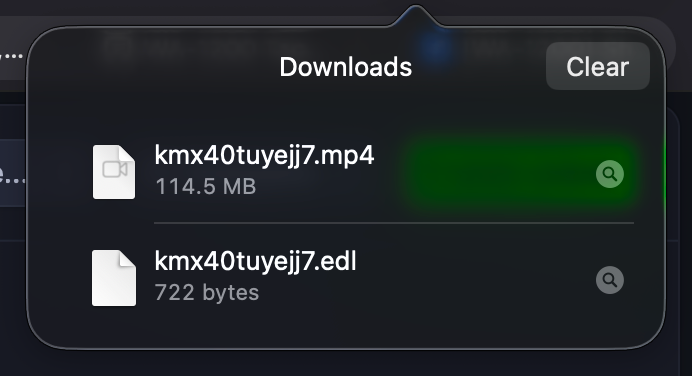
The MP4 file will be placed in your downloads folder
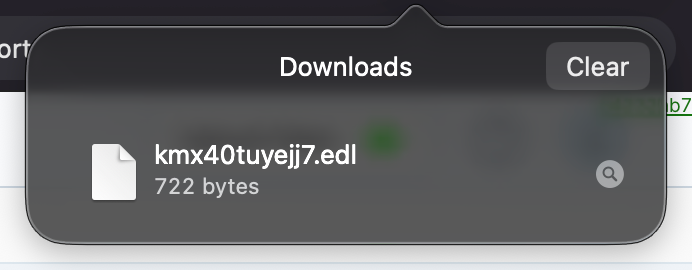
EDL File
Open the video you would like the EDL file from
In the bubble dot menu, select Download EDL Timeline for Highlights
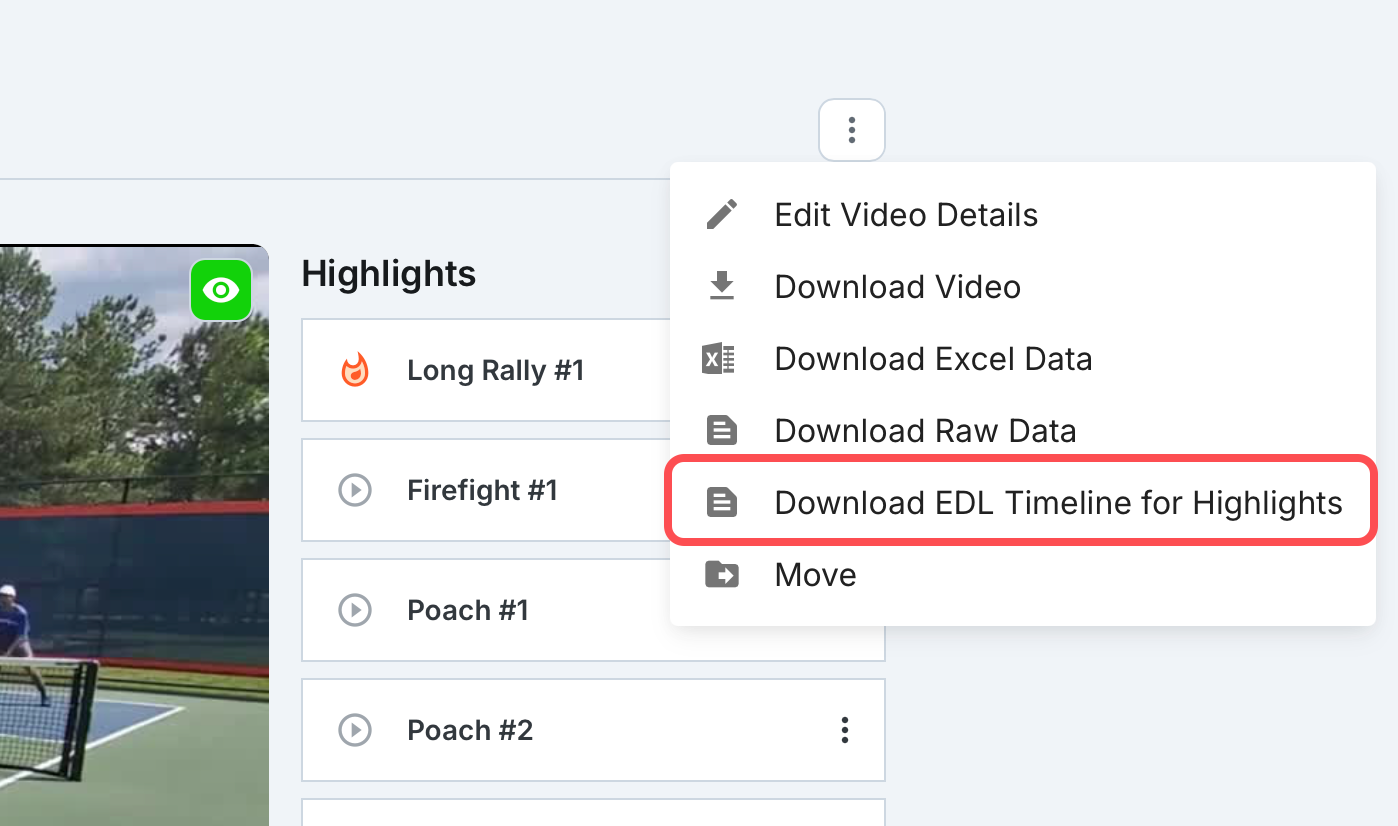
The EDL file will be placed in your downloads folder
Finding Your Video ID
If you would like to utilize the original source video, make sure it is not trimmed or edited from the video that was uploaded to PB Vision.
Open the video that you are utilizing the EDL file for
In the URL, copy the video ID
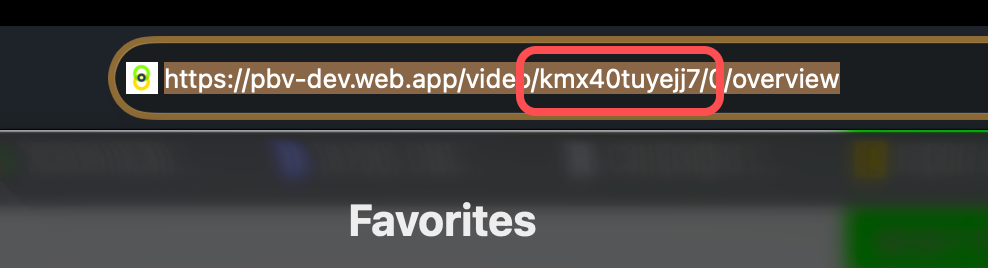
⚠️ NOTE
The MP4 and EDL MUST have the video ID set as the name for proper import
🛣️ DaVinci Resolve
DaVinci Resolve is a free, beginner-friendly video editor you can use to trim clips, brighten your footage, and add simple effects or text to your PB Vision videos. It’s great for cleaning up recordings or creating highlight reels before sharing them.
If you are newer to video editing software, Blackmagic provides a few videos that will walk through introduction to editing or applying visual affects. You can find this on their website.
DaVinci Resolve Training Videos
⚠️ NOTE
PB Vision is not affiliated with DaVinci Resolve or Blackmagic Design, and we cannot provide technical support for third-party software. Use of DaVinci Resolve is entirely at your discretion. Always download from the official website.
⬆️ Importing Files Into DaVinci Resolve
Video File
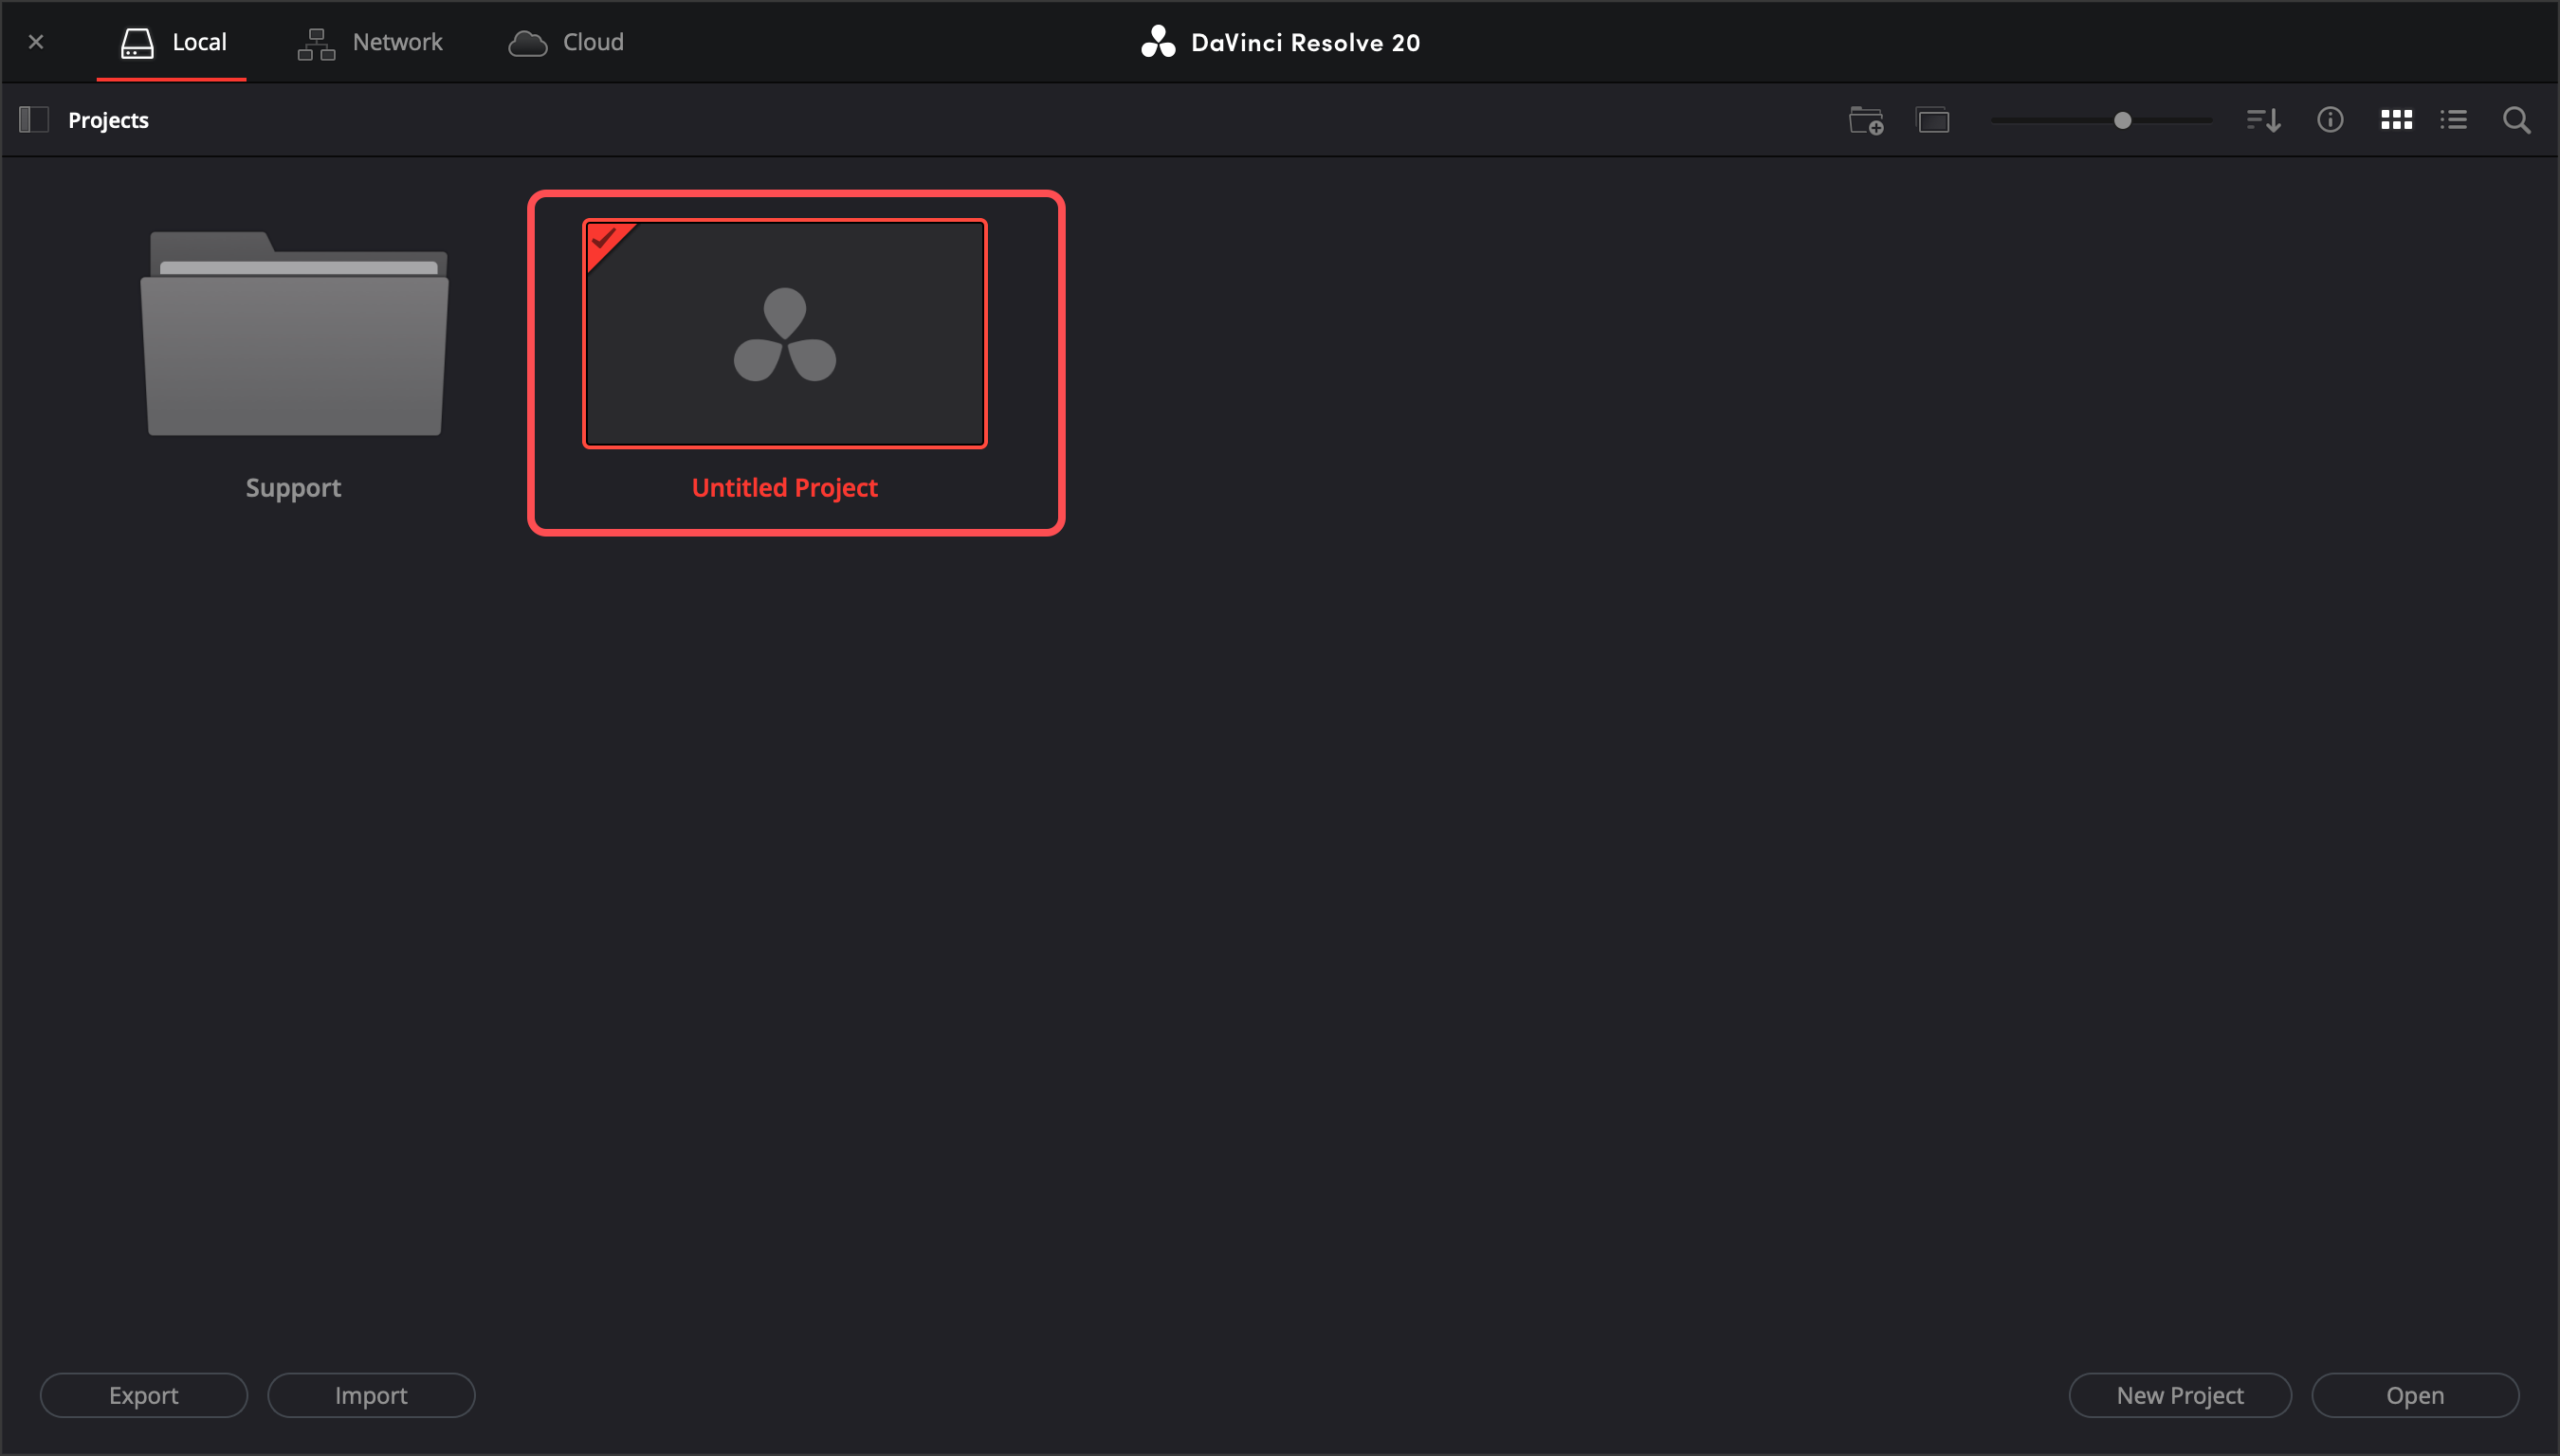
Open DaVinci Resolve
On the main menu, select Untitled Project
Set the file name and folder location > Select Continue
For this example, I set the file name to EDL Imports and left the location as the default

Drag the video file to the Media Pool
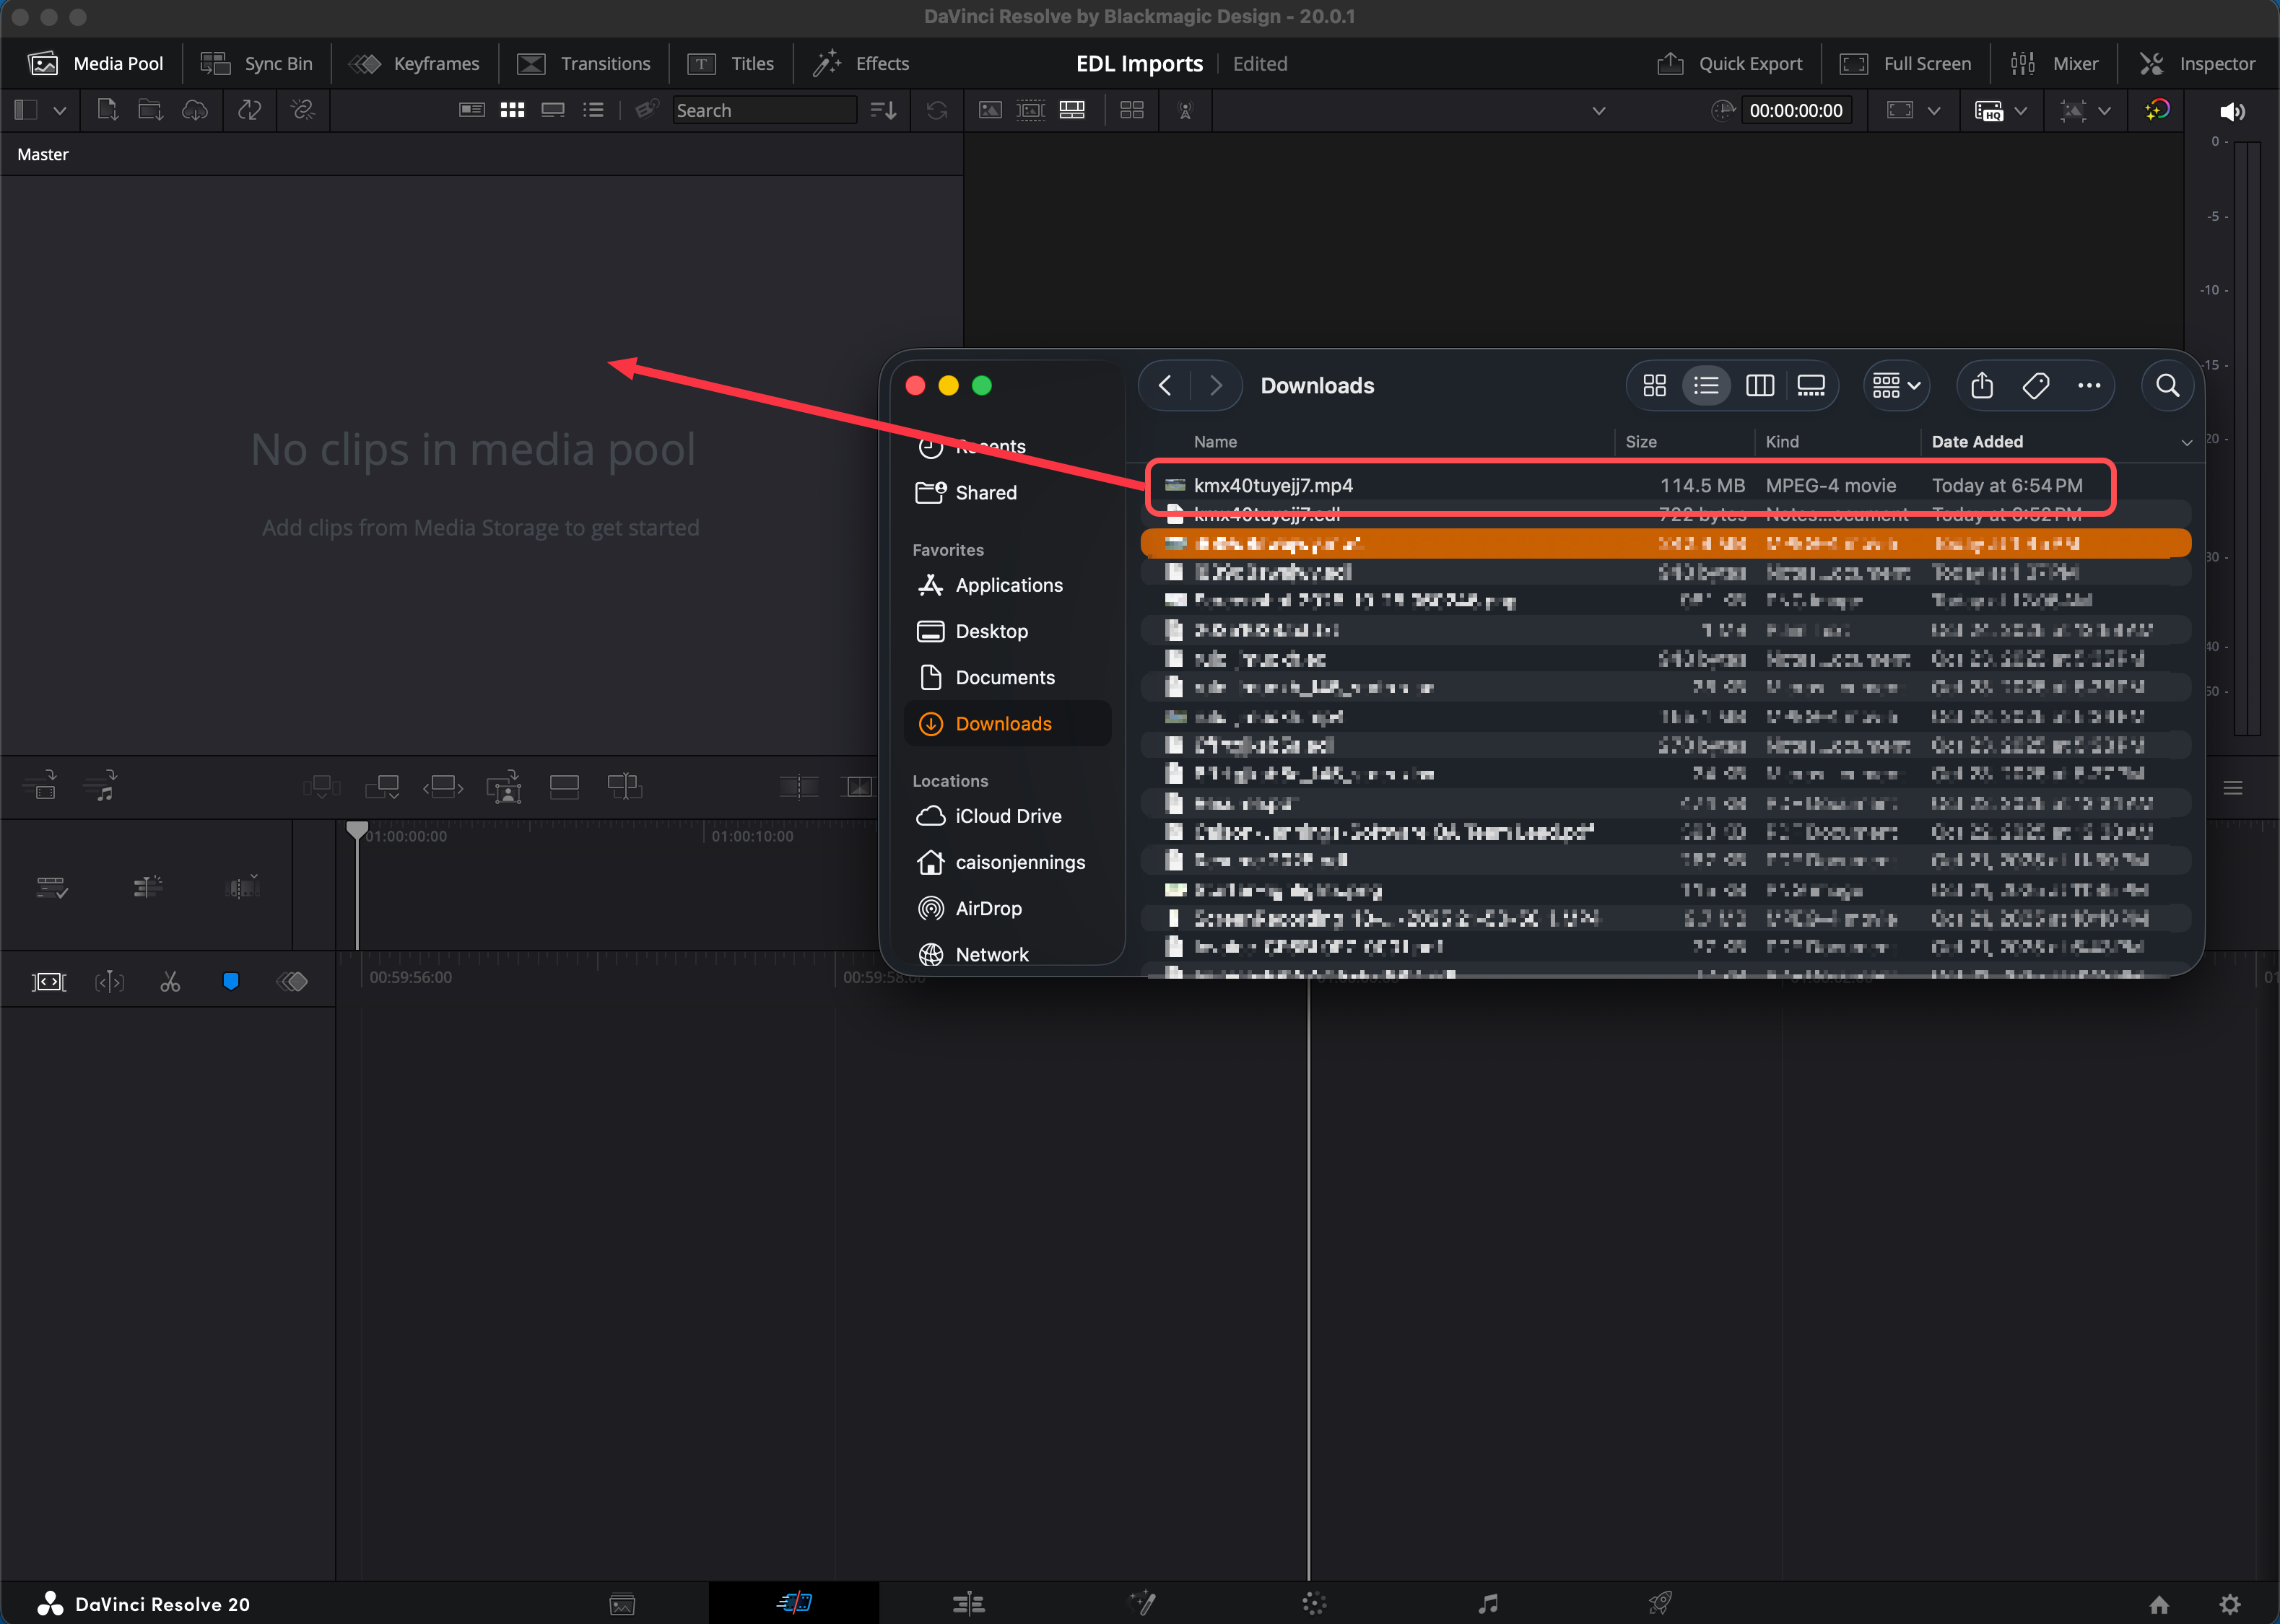
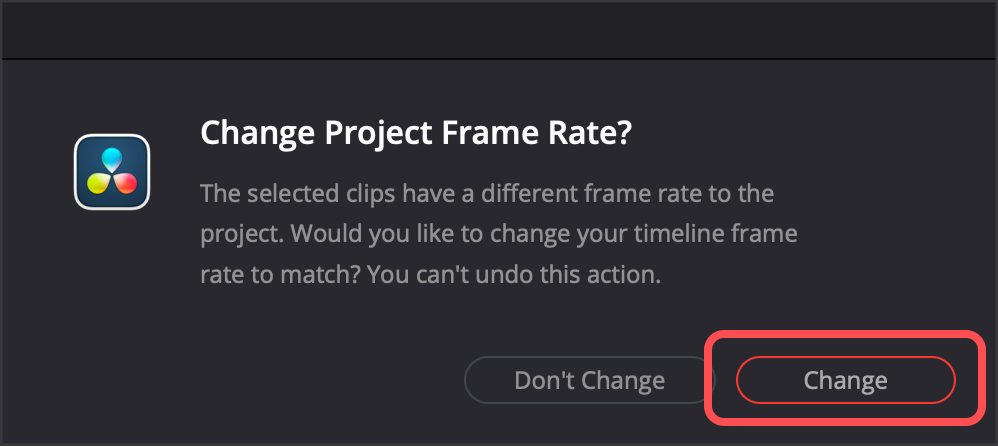
If you see a prompt to Change Project Frame Rate, select Change
EDL File
On the toolbar, select > File > Import Timeline
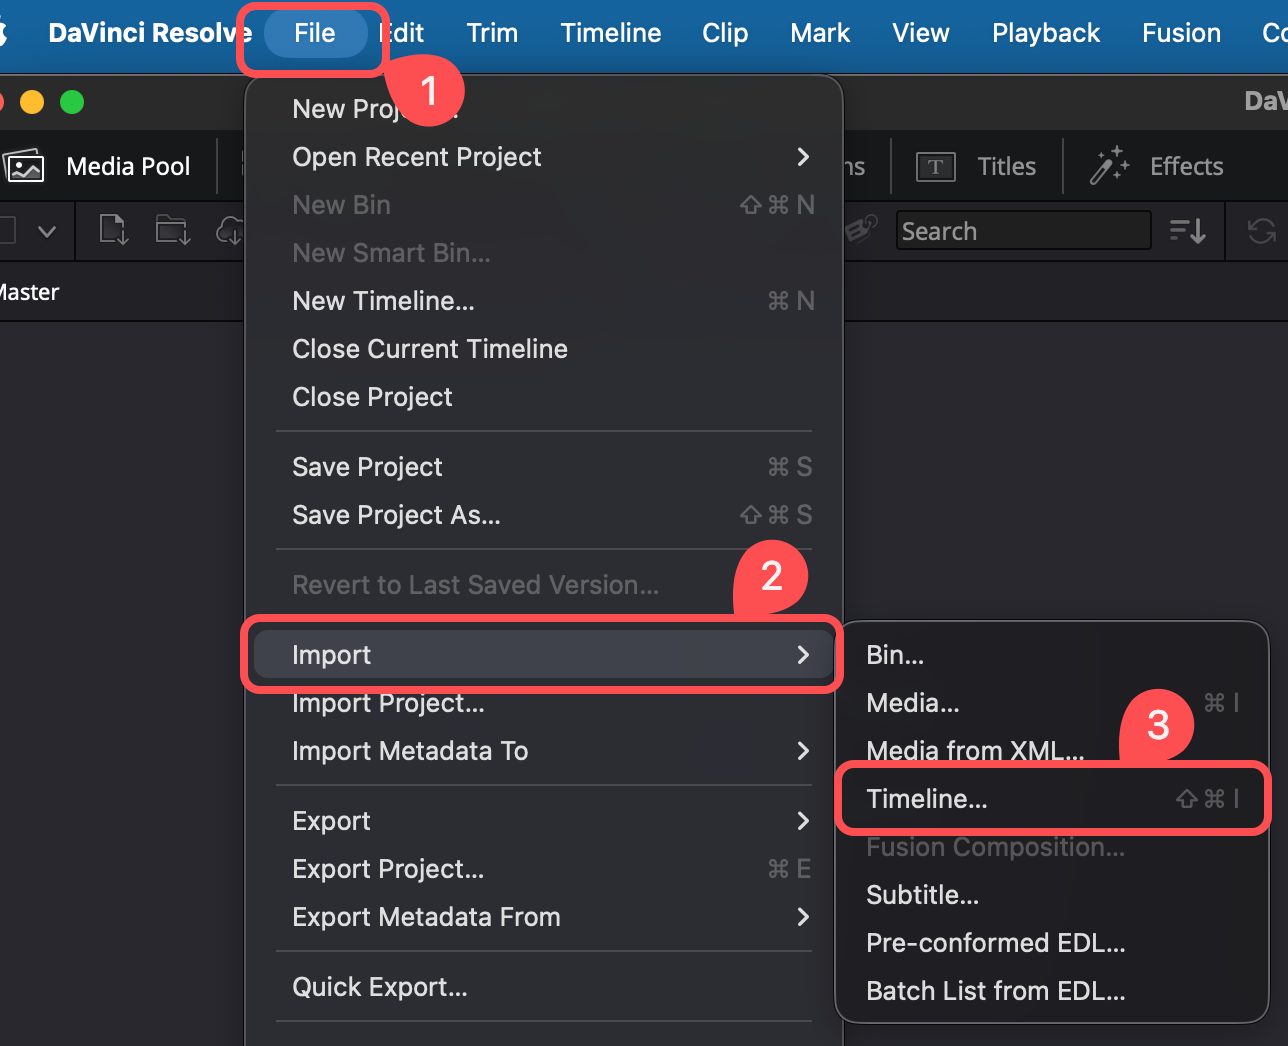
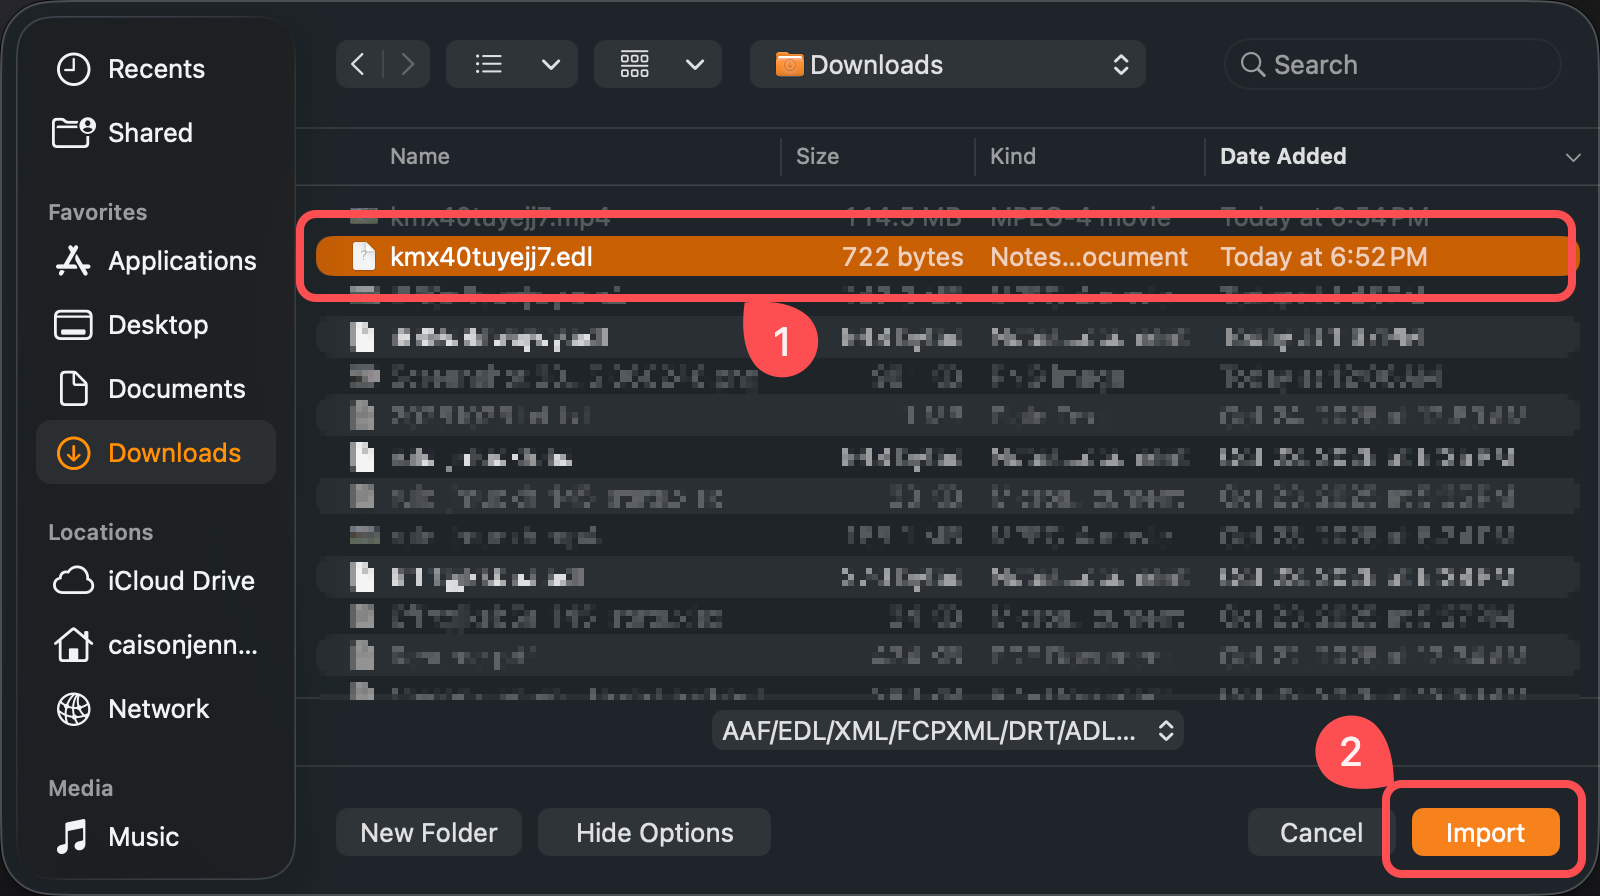
Select the EDL file and Import
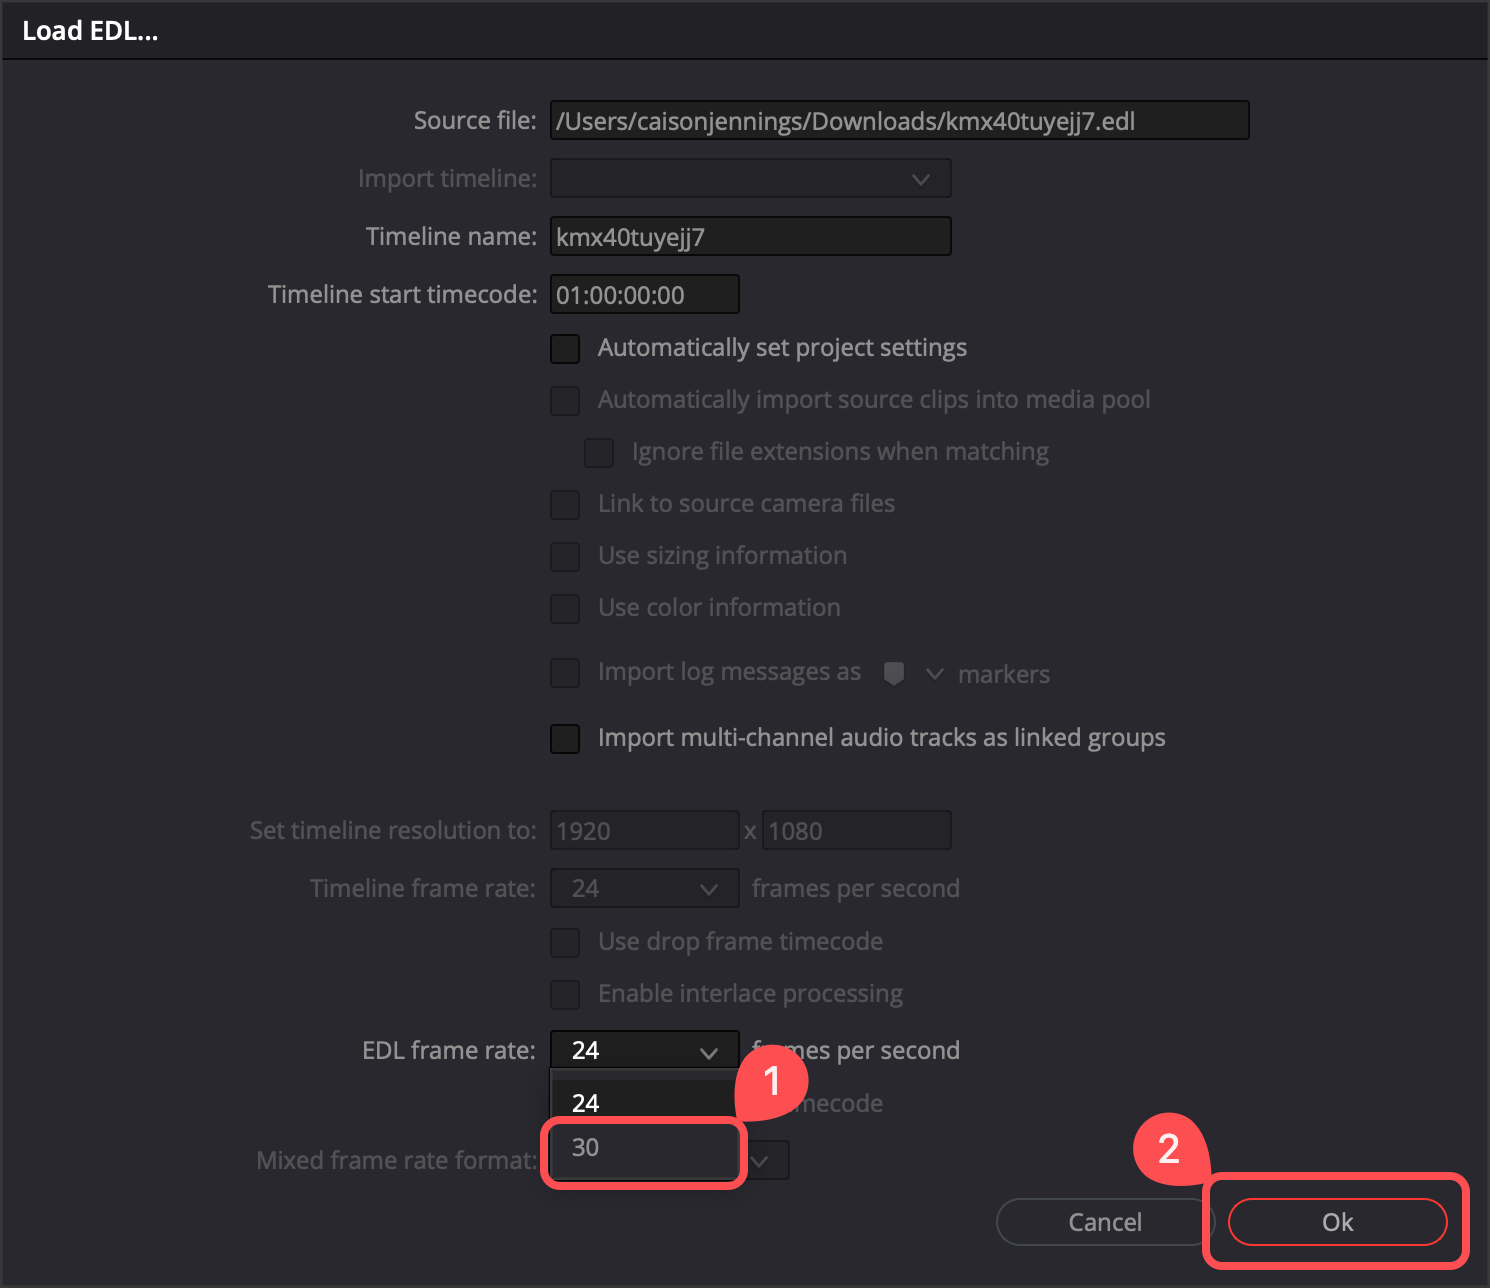
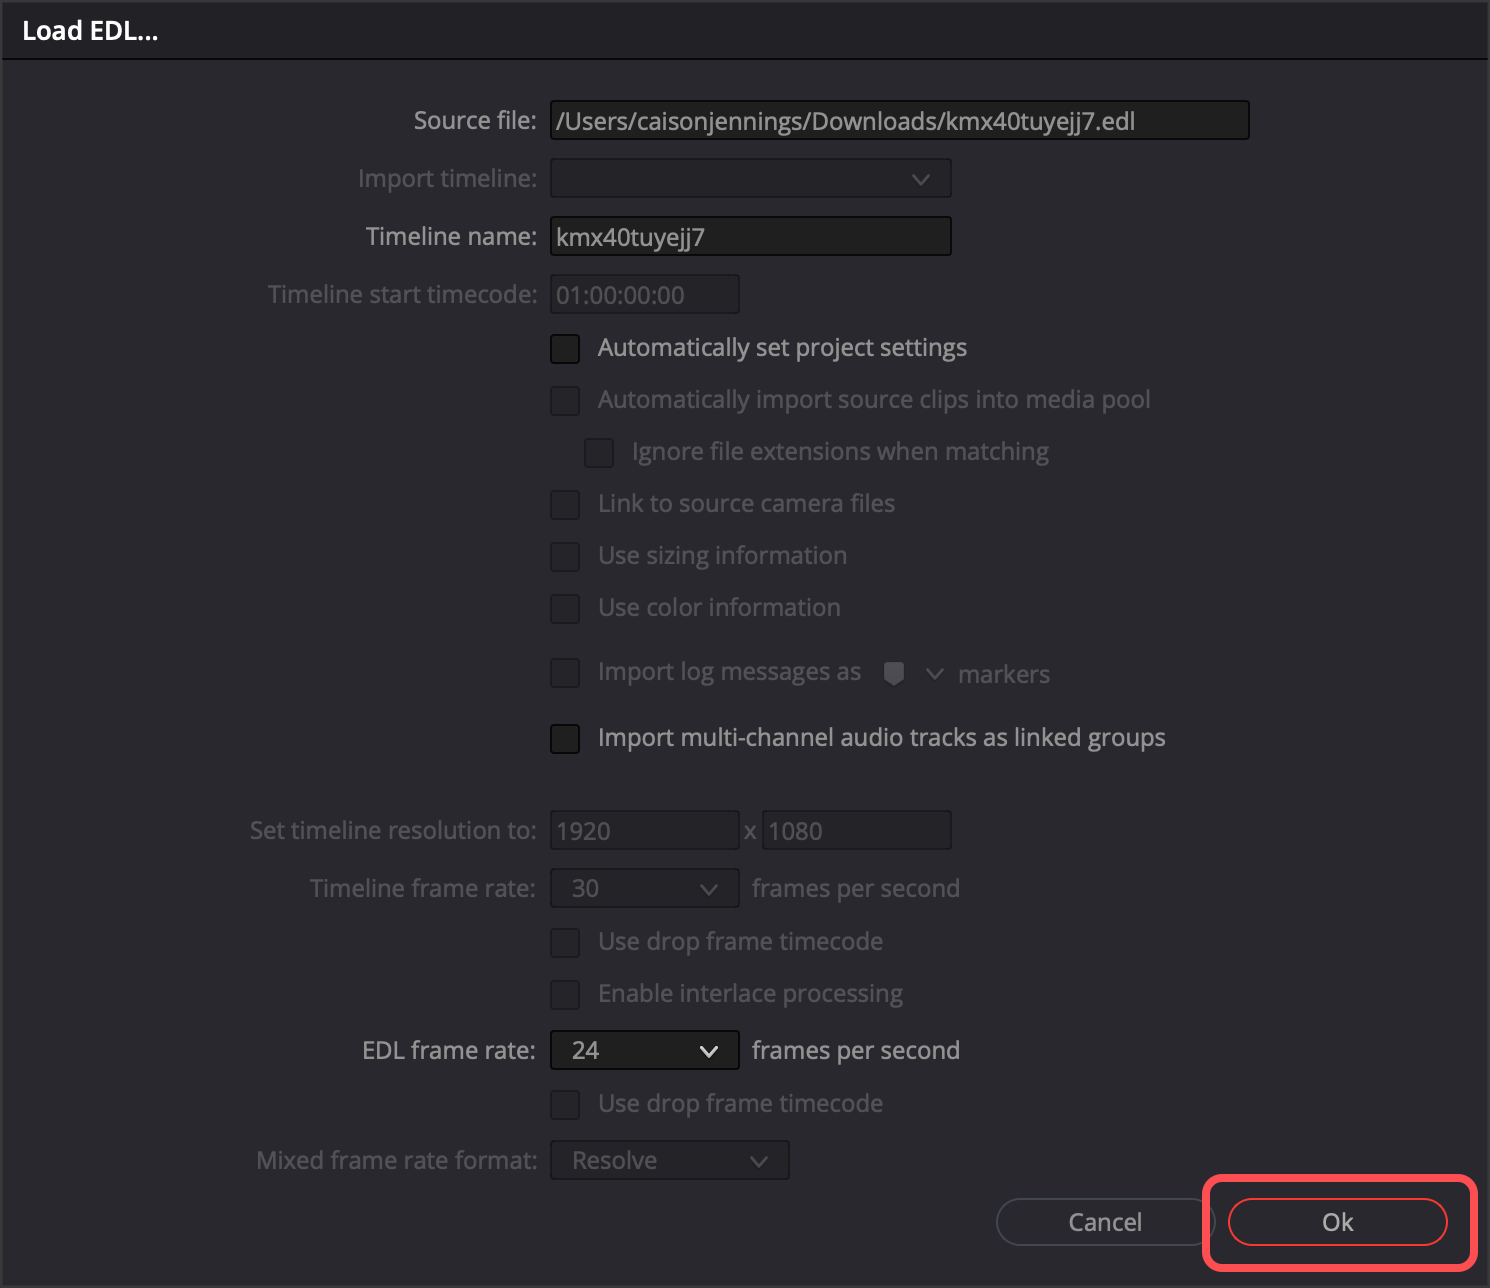
Select OK on the Load EDL prompt
⚠️ NOTE
If you are seeing a Media Error, there are a few reasons this can happen. Most errors can be resolved by the Troubleshooting Media Errors section.
📲 Exporting Highlights From Resolve
There are a few different ways to export videos from DaVinci Resolve, but we will utilize Quick Export for this guide.
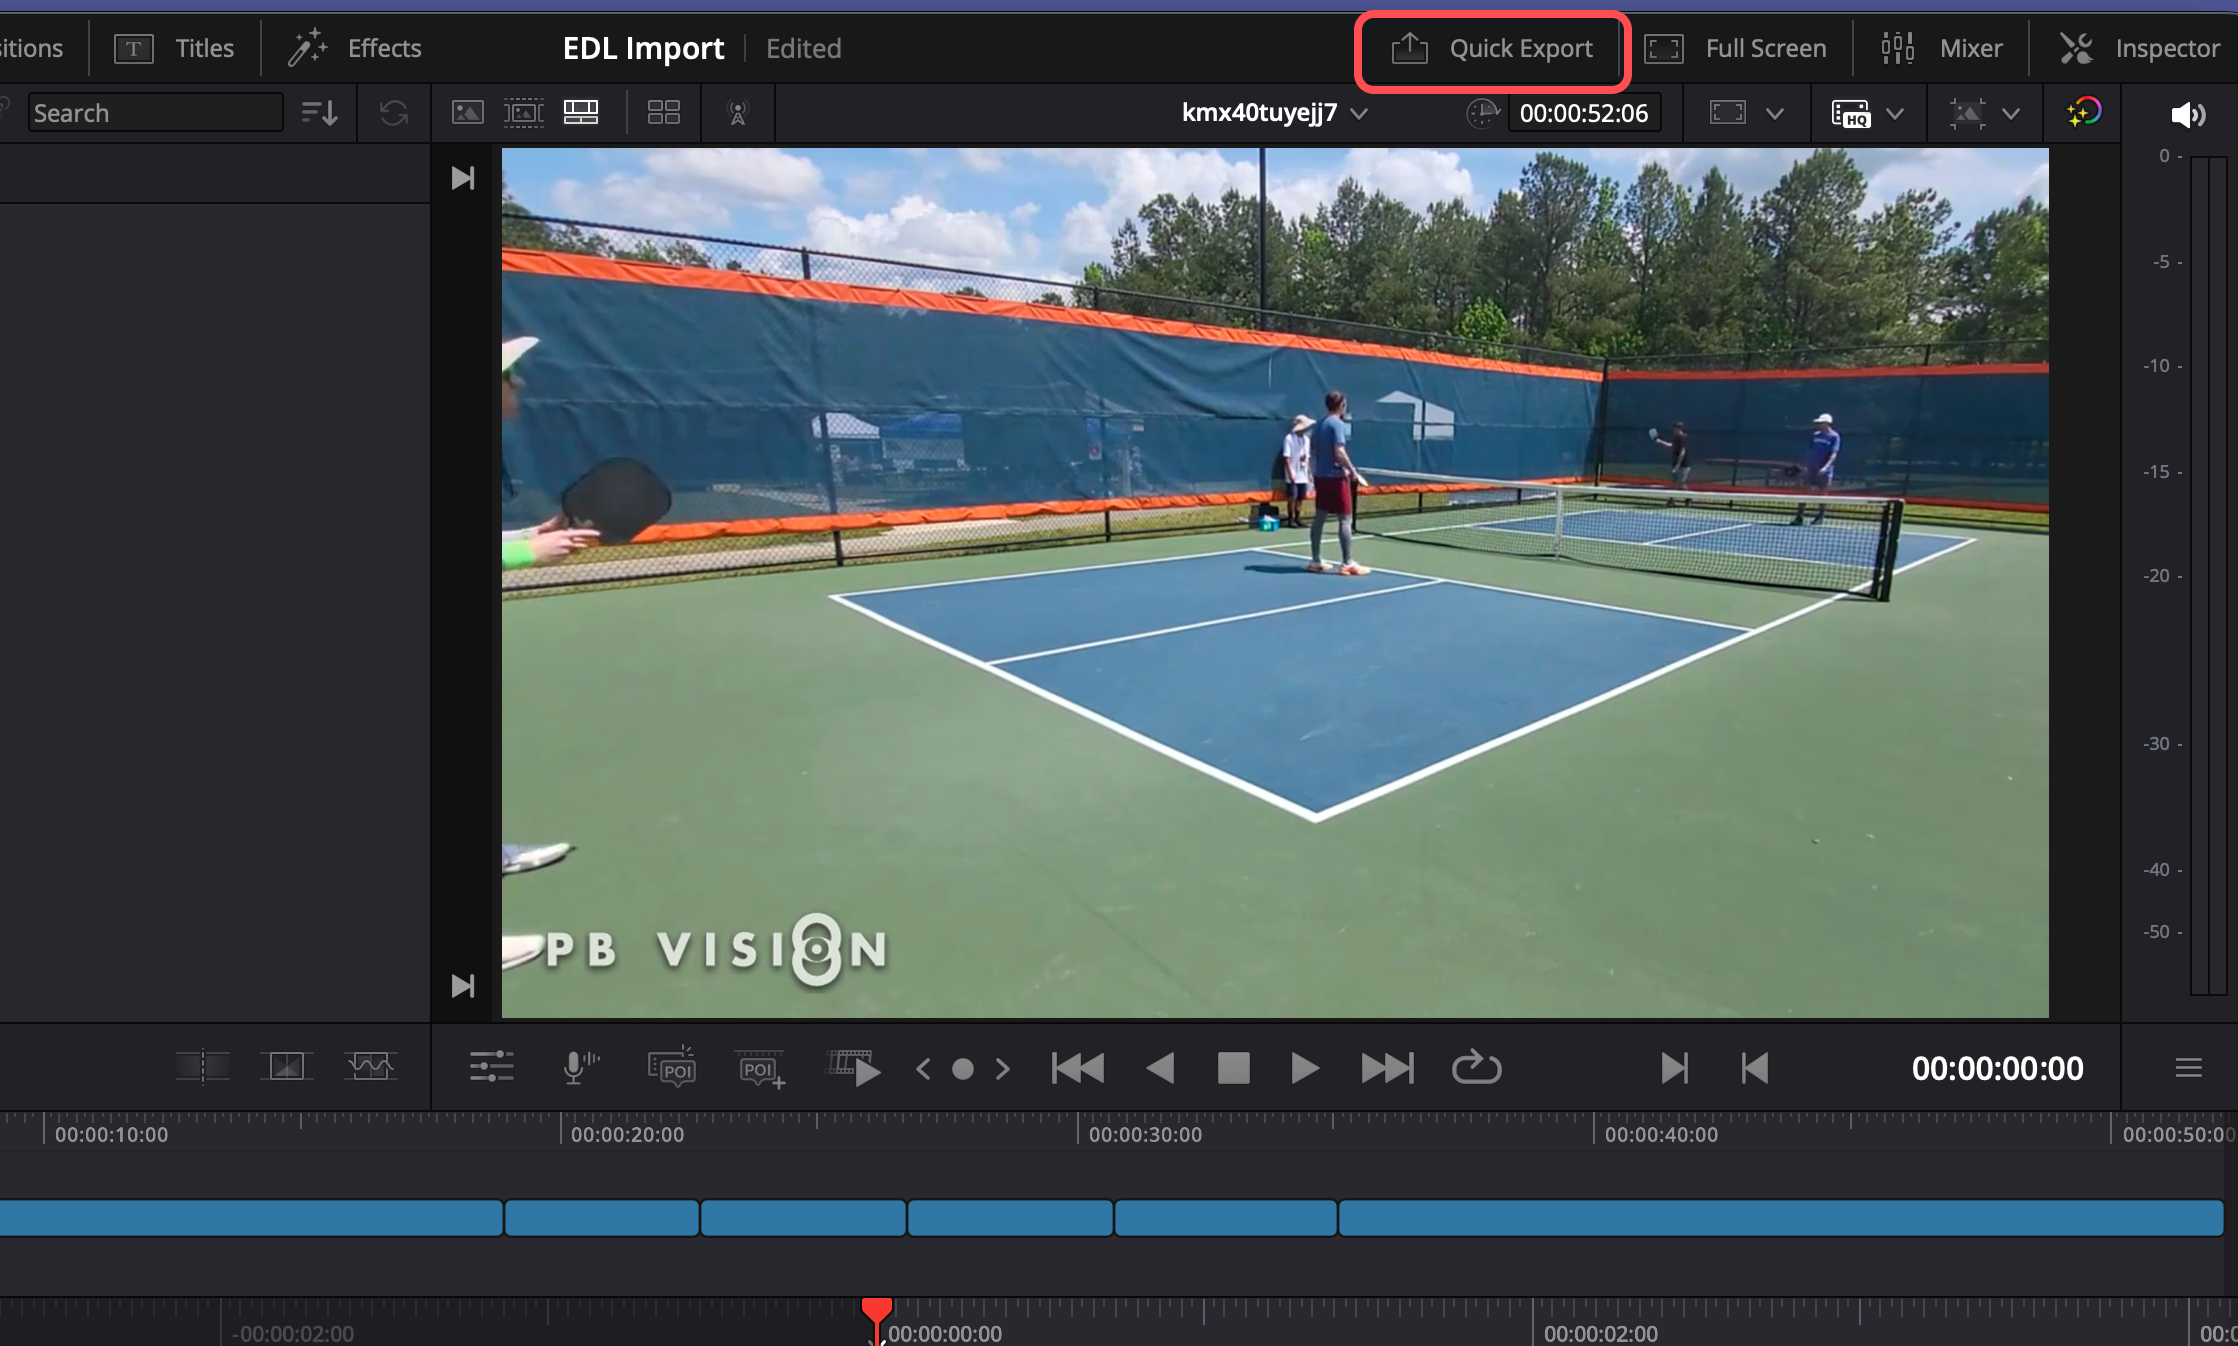
Select Quick Export from the top right application menu
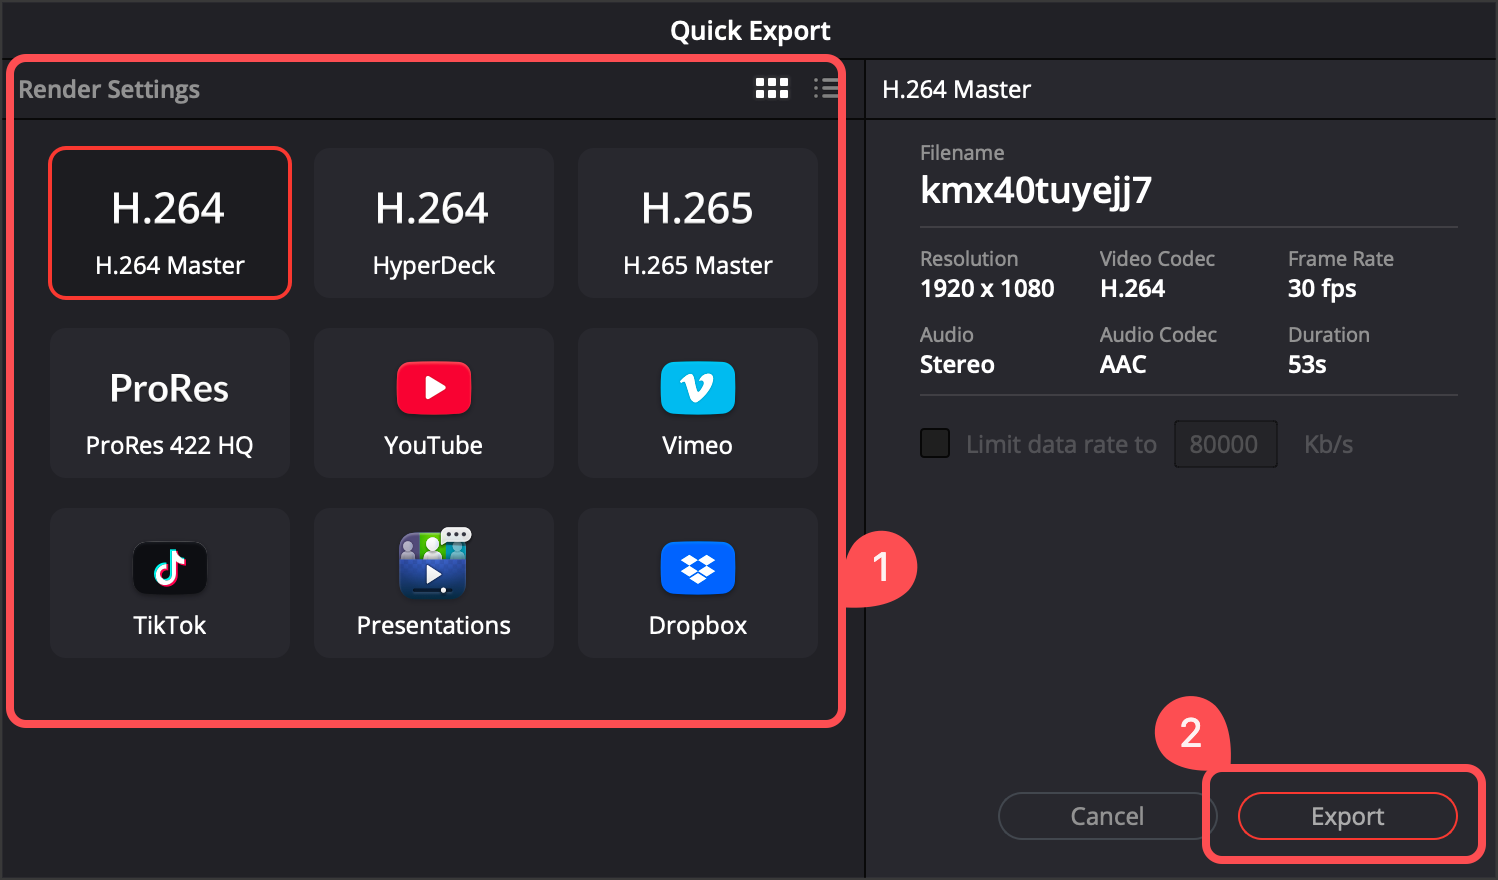
Set the render settings and select Export
H.264 is selected by default and will generally work best in most cases
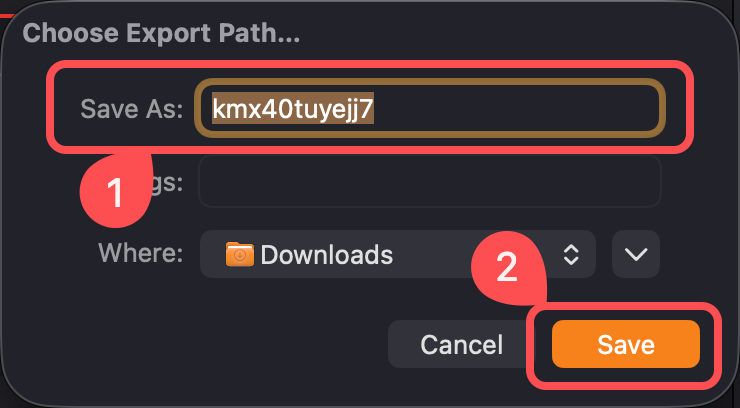
Set your desired video name and file path > Select Continue
🚧 Troubleshooting Media Errors
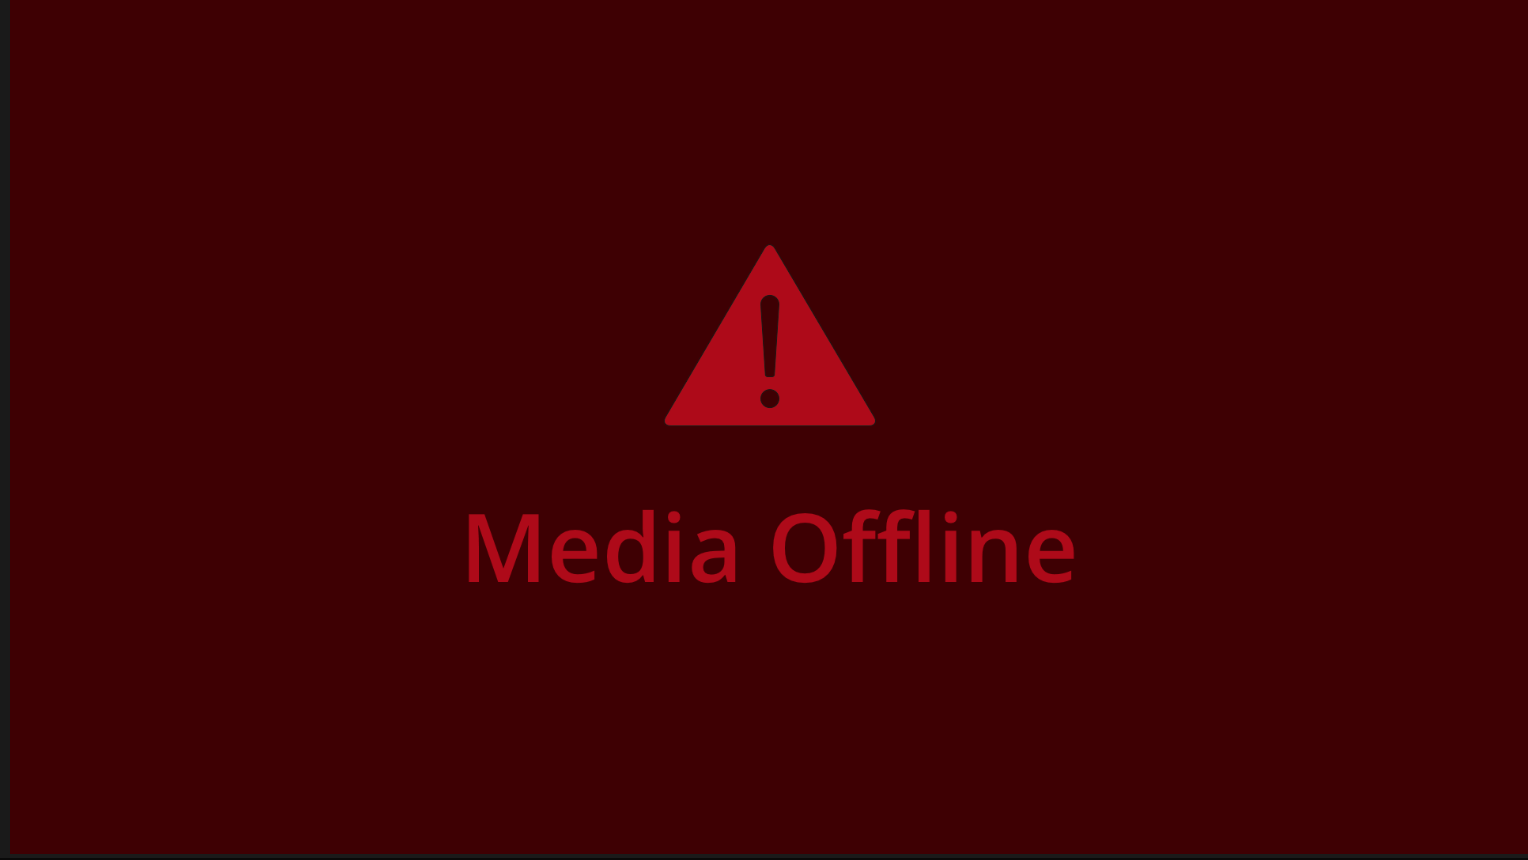
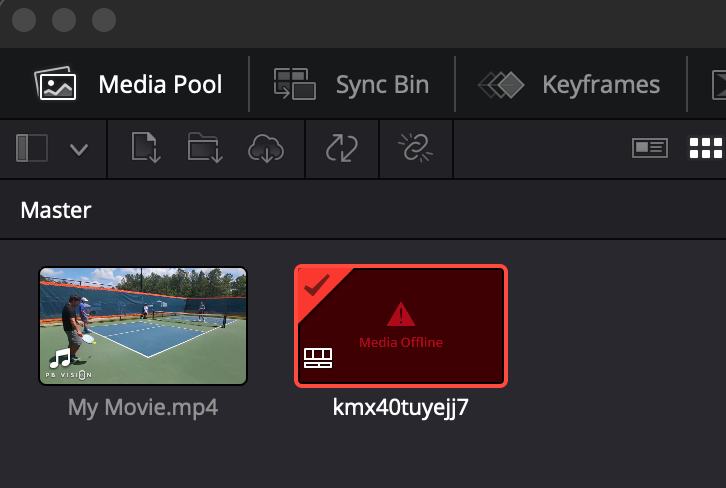
If you receive a Timeline Error such as the Media Offline error shown below, verify the following.
Verify The Timecode Is Not Set
Remove the EDL file from the media pool
Right click on the Video file and select Clip Attributes
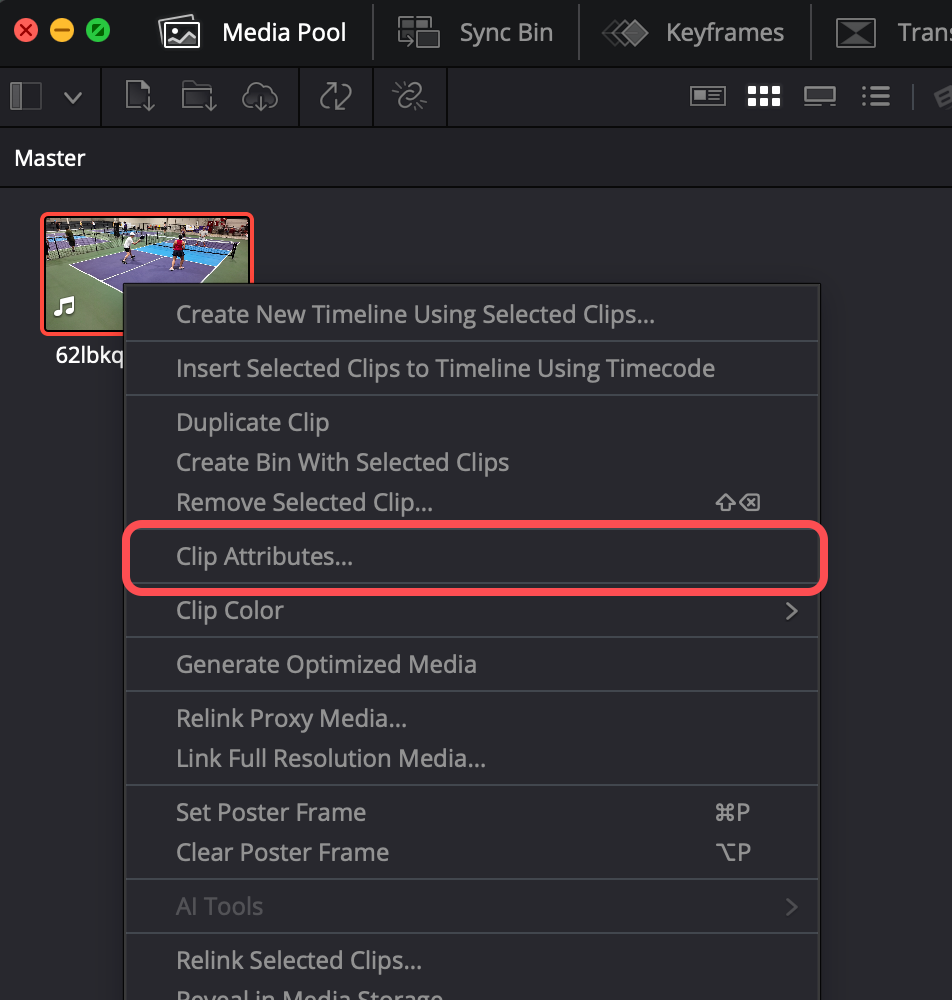
Select Timecode
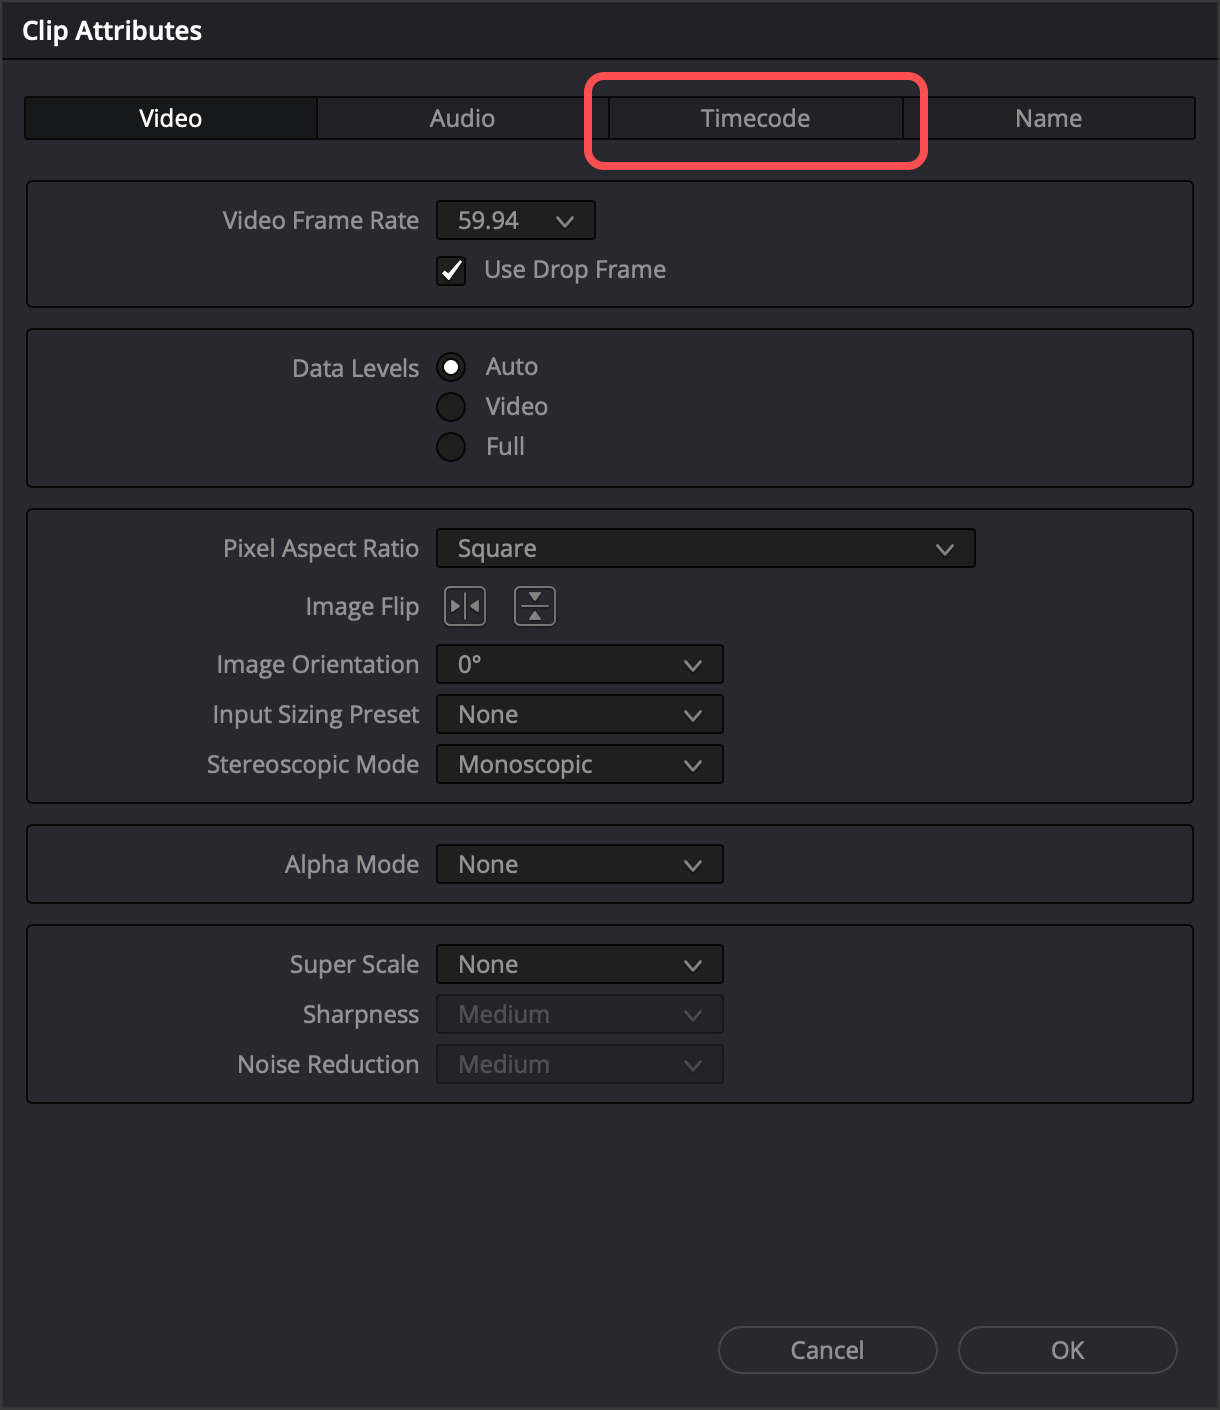
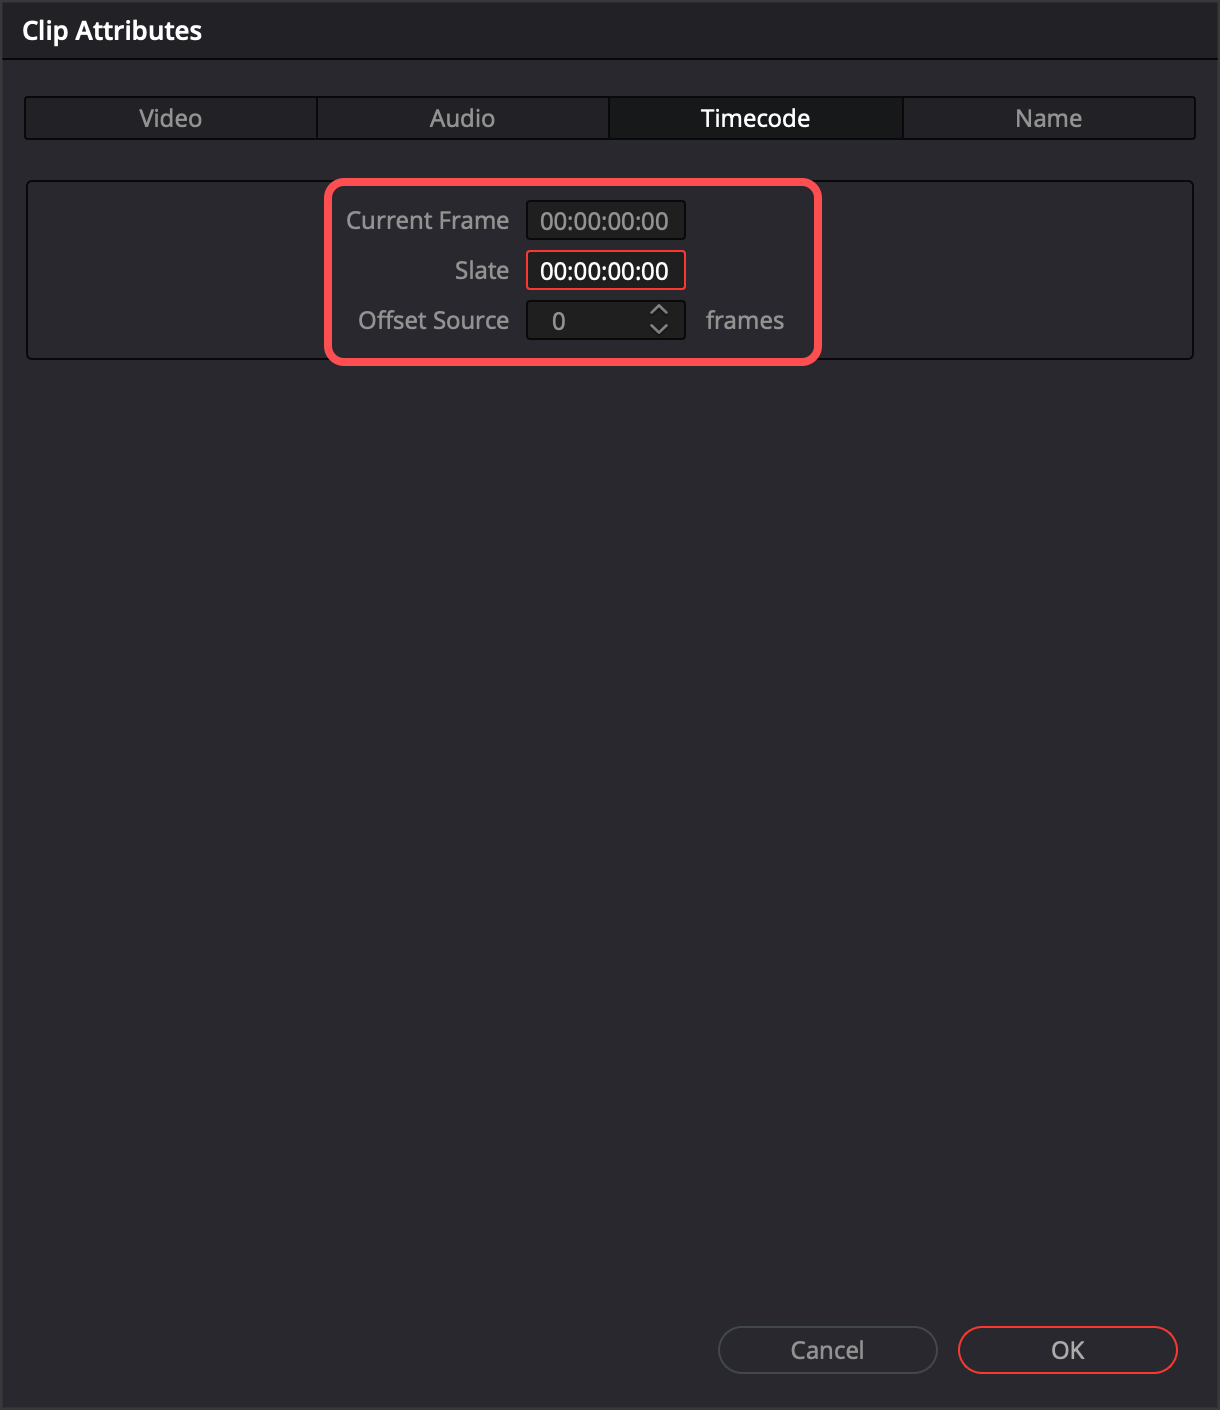
Set the Current Frame and Slate to 00:00:00:00 and select Ok
Offset Source will remain 0
Verify the video imported matches the name of the EDL file
The video needs to be named the video ID prior to importing into DaVinci Resolve
Remove the Video and EDL file from the media pool
Rename the video to match the EDL file name
Set the frame rate when importing EDL
Change the EDL Frame Rate when importing the video to match the FPS of the video